Building a Ship in a Bottle from Scratch
Preface
Before reading this post, it is important to note that it is not meant to be followed exactly. Many of the methods I used didn't work perfectly and required a lot (seriously, a lot) of dirty improvisation. Additionally, I did not take pictures with a tutorial in mind, which may make it hard to see all the tiny, intricate details (clicking an image will enlarge it). If you are interested in building something like this for yourself, I only suggest using this loosely - as a conceptual tutorial.
Materials I Used:
- Wood (I recommend Balsa)
- Wooden Dowel Rods (for the masts)
- Colored paint of your choice
- Paper
- A large glass bottle and cork
- Rope, string, and thread
- Blue or ocean colored modeling clay
- Glue
- Small, narrow pins
- Patience!
Making Waves
 Roll your modeling clay into a long tube shape so it can be inserted into the bottle. Here's the tricky part. I used a long narrow copper rod to flatten out the clay inside the bottle. It takes time to get it to resemble waves, but just keep flattening and pushing it around until you are satisfied with its appearance. Lastly, hollow out a small rectangular area in the middle of the clay (this is where the ship will sit).
Constructing the Stand

I began by creating the stand the bottle would rest on. Since your bottle will likely be different dimensions, start with a plank of wood a few inches longer and wider than the bottle (excluding the neck). Then, construct 2 "stands" on top of the plank that fit the curvature of the bottle. Place the bottle on top to make sure it rests snugly.
You can detail the edges and apply finish however you like.

I used a narrow braided rope that I picked up at Home Depot for a couple bucks to "cradle" the bottle. Simply cut the rope in strands that wrap around the curved stands and secure them together with hot glue. It should resemble a "nest" for your bottle.
Building the Boat
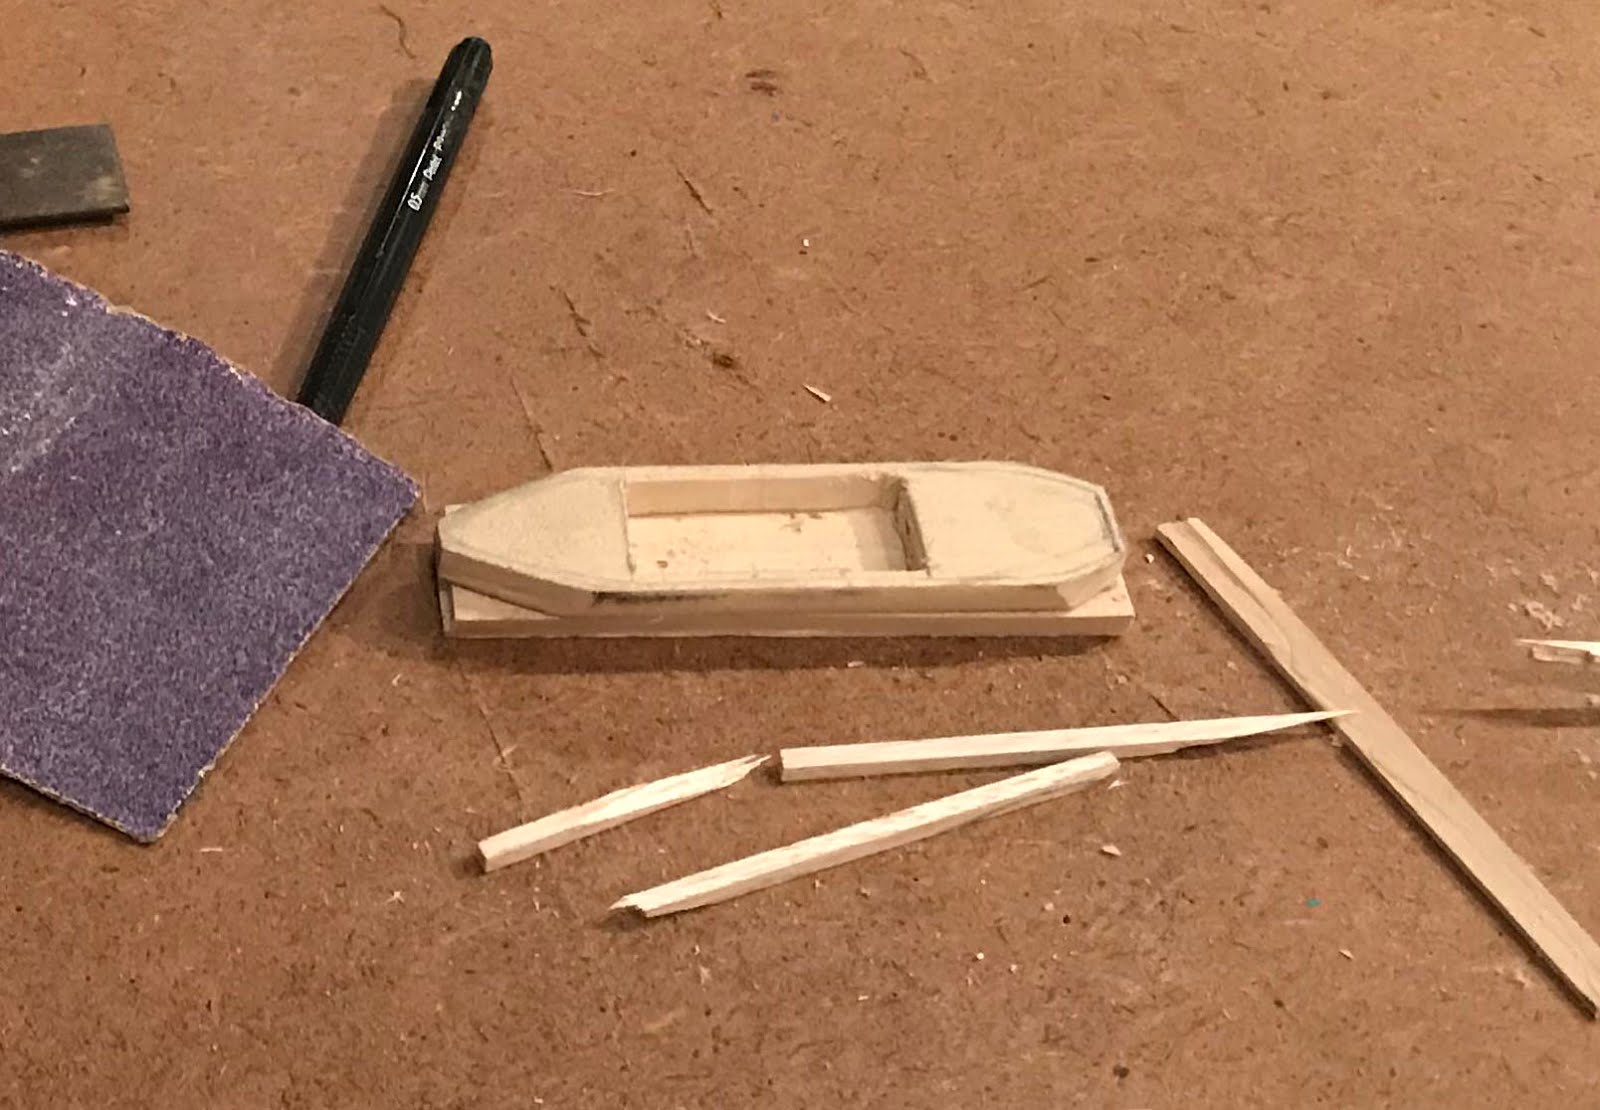 You should know the exact dimensions of the mouth of your bottle. Sketch a rough, boat-like shape onto a piece of balsa wood. Then, sand off the edges until you are happy with the results. I did this twice, and glued the two pieces on top of one another. Before gluing, cut a small rectangular hole in the top piece as depicted in the image. The hole is a place where the middle mast's base will be. Add "railings" around the perimeter of the top half to give it more style. If you add anything to your boat, check that it will still fit inside the mouth of the bottle!!!
This part is a bit tough. The boat will have 3 masts, and the front two have a square base. I drilled a needle sized hole through the width of the railing so that I can insert a pin horizontally that spans the width of the ship. This pin will serve as a rotary pivot for the mast. This step is crucial because it allows the front two masts to be lowered and raised. If your masts cannot lower, the boat will not fit in the bottle. The 3rd mast (on the back) will be inserted into a small hole you will drill later on. Lastly, drill a hole in the front tip of your boat, this is where the bowsprit will be. At the top and bottom of each wooden dowel rod (just the top for the bowsprit) drill another needle sized hole. We will run thread starting from the tip of the bowsprit and through each mast. This acts as a sort of pulley system that allows us to raise the masts by tugging on the thread.
Ignoring the horizontal beams atop the masts, this is what your rigging should look like:

Pay close attention to the string starting from the bowsprit. The front 2 masts can be pushed downward towards the rear of the boat. When it comes time to insert the ship, the back-most mast will dangle loosely from the string (we can fit it into the hole using our copper rod and a bit of fidgeting).
 For the sails, I simply cut out 3 pieces of paper. 2x square pieces (one bigger than the other), and 1x triangular piece. I dripped coffee onto them and let them dry overnight. This darkened their color and made them a bit more flexible. Attaching the sails to the masts can be done easily with a bit of super glue. The hard part is fixing the horizontal mast beams into position. The horizontal beams are too wide to fit into the mouth, so they must be able to rotate vertically until they do fit. This means we cannot just glue the beams to the mast. Instead, I wrapped thread around them, occasionally tying it off. I repeated this process until it was snug but also able to be moved with a bit of pressure.
The final step is to raise the first two masts, and work the 3rd into position. I used the copper rod to help guide the masts up while I gently pulled the string coming from the bowsprit. When everything was positioned accordingly, I tied off the string and cut it, placing a cork to close the bottle.


No comments:
Post a Comment